
TABLE OF CONTENTS
1 INTRODUCTION ................................................................... 1
1.1 Definition of Signal Warnings and Symbols ...................................... 1
1.2 Safety Precautions ............................................................................ 2
1.3 Display and controls .......................................................................... 3
2 INSTALLATION ..................................................................... 5
2.1 Package contents .............................................................................. 5
2.2 Installing the batteries ....................................................................... 6
2.3 Installing the electrode clip ................................................................ 6
2.4 Installing the IP54 seal components ................................................. 6
2.5 Integrated stand for table top use ..................................................... 7
3 STARTER 300 SETUP .......................................................... 8
3.1 Set temperature unit and MTC value ................................................ 8
3.2 Selecting a predefined buffer group .................................................. 8
4 STARTER 300 OPERATION ................................................. 9
4.1 Calibration ......................................................................................... 9
4.1.1 Buffer group ................................................................................ 9
4.1.2 Performing 1-point calibration .................................................. 10
4.1.3 Performing 2-point calibration ................................................... 11
4.2 Sample measurement ..................................................................... 12
4.2.1 pH measurement ...................................................................... 12
4.2.2 mV measurement ..................................................................... 12
4.3 Temperature measurement ............................................................. 12
4.4 Using the memory ........................................................................... 12
4.4.1 Storing a reading ...................................................................... 12
4.4.2 Recalling from memory ............................................................ 12
4.4.3 Clearing the memory ................................................................ 12
5 MAINTENANCE .................................................................. 14
5.1 Error message ................................................................................. 14
5.2 Meter maintenance.......................................................................... 14
5.3 Electrode maintenance ................................................................... 14
5.4 Self-diagnosis .................................................................................. 15
5.5 Recover factory settings .................................................................. 15
6 TECHNICAL DATA ............................................................. 16
6.1 Specifications ................................................................................ 16
6.2 Compliance ..................................................................................... 16
7 BUFFER GROUP ................................................................ 18


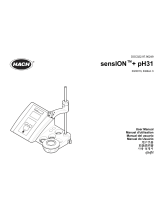 Hach sensIONTM+ pH31 Manual do usuário
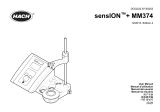 Hach sensION+ MM374 Manual do usuário
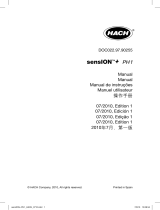 Hach sensION+ pH1 Manual do usuário
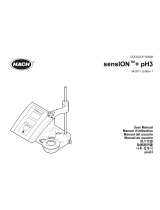 Hach sensION+ pH3 Manual do usuário
 Hach sensION MM340 Manual do usuário