14
En
conditions: (1) This device may not cause harmful
interference, and (2) this device must accept any
interference received, including interference that
may cause undesired operation.
FCC CAUTION
[NOTE]
This equipment has been tested and found to
comply with the limits for a Class B digital device,
pursuant to part 15 of the FCC Rules. These limits
are designed to provide reasonable protection
against harmful interference in a residential
installation. This equipment generates, uses and
can radiate radio frequency energy and, if not
installed and used in accordance with the
instructions, may cause harmful interference to
radio communications. However, there is no
guarantee that interference will not occur in a
particular installation. If this equipment does
cause harmful interference to radio or television
reception, which can be determined by turning
the equipment o and on, the user is
encouraged to try to correct the interference by
one or more of the following measures:
- Reorient or relocate the receiving antenna.
- Increase the separation between the
equipment and receiver.
- Connect the equipment into an outlet on a
circuit dierent from that to which the receiver
is connected.
- Consult the dealer or an experienced radio/TV
technician for help.
Use of shielded cable is required to comply with
class B limits in Subpart B of Part 15 of FCC Rules.
Do not make any changes or modications to
the equipment unless otherwise specied in this
manual. If you make such changes or
modications, you could be required to stop
operation of the equipment.
CANON U.S.A., INC
One Canon Park, Melville, NY 11747, U.S.A.
TEL No. 1-800-OK-CANON
Disclaimers
•
The following applies in California, USA only:
The battery included with your product
contains Perchlorate Material and may require
special handling.
See http://www.dtsc.ca.gov/hazardouswaste/
perchlorate/ for details.
Trademarks
Mac is a trademark of Apple Inc.
Microsoft, Windows, Windows Vista, Windows
Server, Internet Explorer, Excel, and PowerPoint
are either registered trademarks or trademarks of
Microsoft Corporation in the United States and/
or other countries.
Other product and company names herein may
be the trademarks of their respective owners.
Third-Party Services
If you use third-party services through the
PRODUCT, use of the services are subjected the
conditions below.
When you access and/or obtain some third party
content (such as text, images, videos, audios, or
software) through the SOFTWARE, except as
expressly permitted by the content owner or by
applicable law, you may not (a) scrape, build
databases or otherwise create permanent copies
of such content, or keep cached copies longer
than permitted by the cache header; (b) copy,
translate, modify, create a derivative work of, sell,
lease, lend, convey, distribute, publicly display or
sublicense to any third party; (c) misrepresent
the source or ownership; and (d) remove,
obscure, or alter any copyright, trademark or
other proprietary rights notices, falsify or delete
any author attributions, legal notices or other
labels of the origin or source of material.
Third Party Software
This Canon product (the "PRODUCT") includes
third-party software modules. Use and
distribution of these software modules,
including any updates of such software modules
(collectively,the "SOFTWARE") are subject to
license conditions below.
(1) You agree that you will comply with any
applicable export control laws, restrictions or
regulations of the countries involved in the
event that the PRODUCT including the
SOFTWARE is shipped, transferred or
exported into any country.
•
Remove the power plug completely from the
AC power outlet during a thunder storm.
Failure to do so may result in a re, electrical
shock, or damage to the machine.
CAUTION
Install this machine near the power outlet and
leave sucient space around the power plug so
that it can be unplugged easily in an emergency.
Handling
Laser Safety
This product is conrmed as a Class 1 laser
product in IEC60825-1:2007 and EN60825-1:2007.
CLASS 1 LASER PRODUCT
LASER KLASSE 1
APPAREIL À LASER DE CLASSE 1
APPARECCHIO LASER DI CLASSE 1
PRODUCTO LÁSER DE CLASE 1
APARELHO A LASER DE CLASSE 1
LUOKAN 1 LASER-TUOTE
LASERPRODUKT KLASS 1
The laser beam can be harmful to human bodies.
Since radiation emitted inside the product is
completely conned within protective housings
and external covers, the laser beam cannot
escape from the machine during any phase of
user operation. Read the following remarks and
instructions for safety.
•
Never open covers other than those instructed
in the manuals for this machine.
•
If the laser beam should escape and enter your
eyes, exposure may cause damage to your eyes.
Use of controls, adjustments, or performance of
procedures other than those specied in this
manual may result in hazardous radiation exposure.
Safety-Related Symbols
Power switch: "ON" position
Power switch: "OFF" position
Power switch: "STANDBY" position
Pushpush switch "ON" "OFF"
Protective earthing terminal
Dangerous voltage inside. Do not open
covers other than instructed.
CAUTION: Hot surface. Do not touch.
Class II equipment
Moving parts: Keep body parts away from
moving parts
[NOTE]
Some of symbols shown above may not be
axed depending on the product.
v1511_02_en-GB
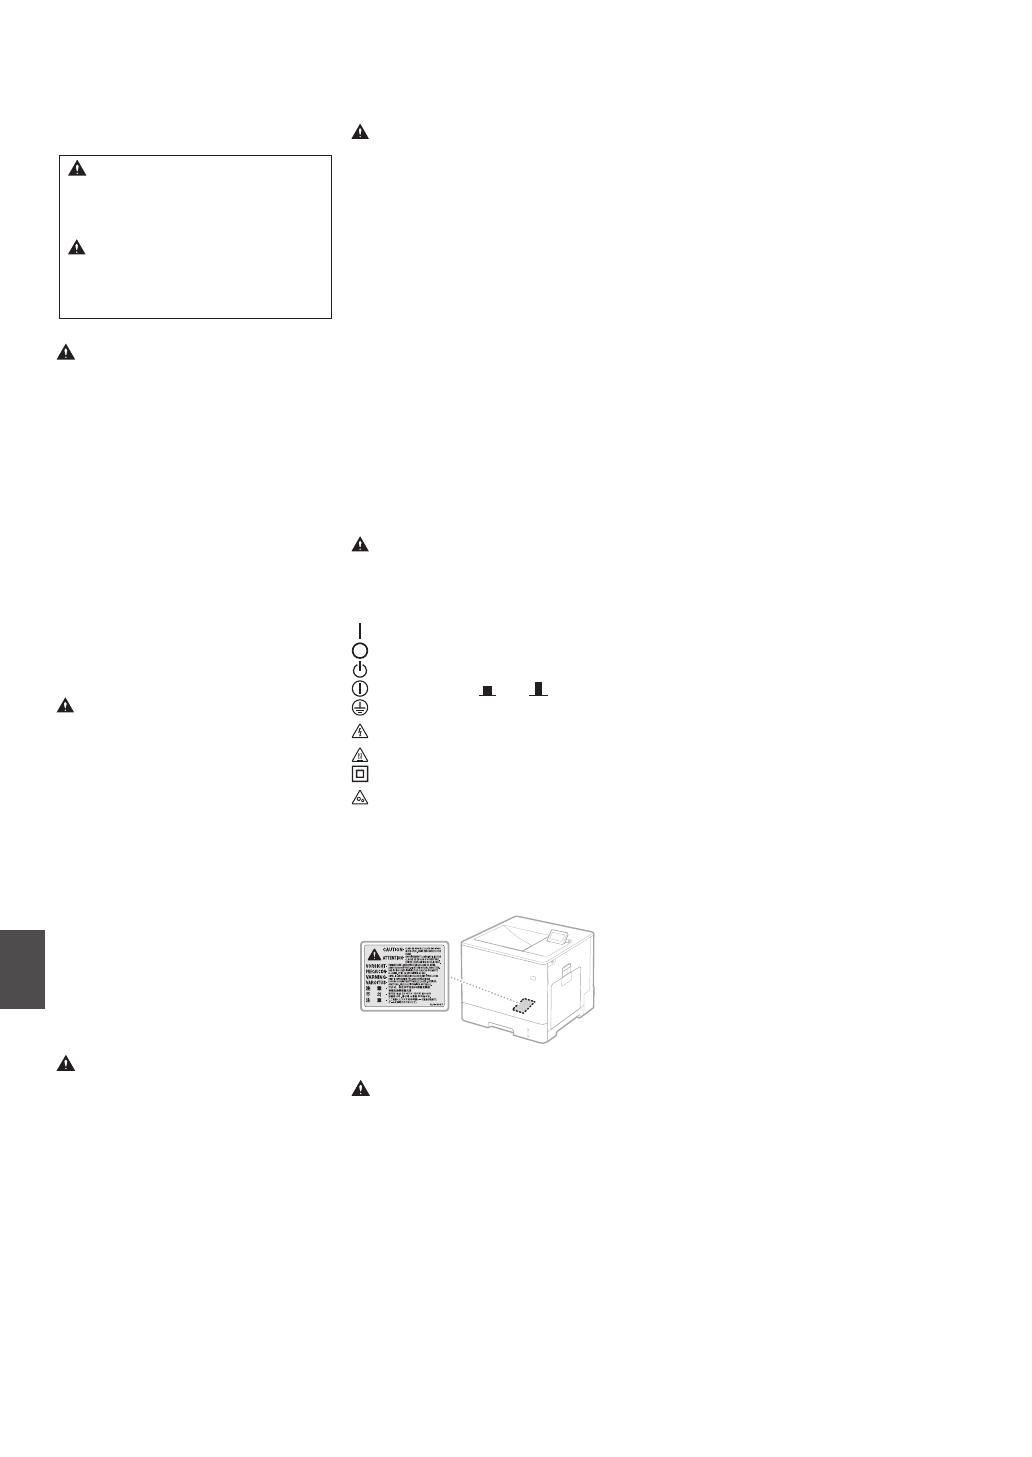
Laser Safety Label
Consumables
Do not dispose of used toner cartridges or the
like in open ames. Also, do not store toner
cartridges or paper in a location exposed to
open ames.
This may cause the toner to ignite, and result in
burns or re.
Notice
Product Name
Safety regulations require the product's name to
be registered.
In some regions where this product is sold, the
following name(s) in parentheses ( ) may be
registered instead.
Color imageCLASS LBP712Cdn (F169200)
FCC (Federal Communications Commission)
Users in the U.S.A.
Laser Beam Printer, Model F169200
This device complies with part 15 of the FCC
Rules. Operation is subject to the following two
Important Safety Instructions
This manual describes only warnings and cautions
for the installation and the power supply. Be sure
to read "Important Safety Instructions" described in
the e-Manual (HTML manual) also.
WARNING
Indicates a warning concerning operations
that may lead to death or injury to persons if
not performed correctly. To use the machine
safely, always pay attention to these warnings.
Indicates a caution concerning operations
that may lead to injury to persons if not
performed correctly. To use the machine
safely, always pay attention to these cautions.
Installation
Do not install in a location that may result in a
re or electrical shock
•
A location where the ventilation slots are
blocked (too close to walls, beds, sofas, rugs, or
similar objects)
•
A damp or dusty location
•
A location exposed to direct sunlight or outdoors
•
A location subject to high temperatures
•
A location exposed to open ames
•
Near alcohol, paint thinners or other
ammable substances
Other warnings
•
Do not connect unapproved cables to this
machine. Doing so may result in a re or
electrical shock.
•
Do not place necklaces and other metal
objects or containers lled with liquid on the
machine. If foreign substances come in contact
with electrical parts inside the machine, it may
result in a re or electrical shock.
•
If any foreign substance falls into this machine,
unplug the power plug from the AC power outlet
and contact your local authorized Canon dealer.
Do not install in the following locations
The machine may drop or fall, resulting in injury.
•
An unstable location
•
A location exposed to vibrations
Other cautions
•
When carrying this machine, follow the
instructions in this manual. If carried
improperly, it may fall, resulting in injury.
•
When installing this machine, be careful not to
get your hands caught between the machine and
the oor or walls. Doing so may result in injury.
Avoid poorly ventilated locations
This machine generates a slight amount of ozone
and other emissions during normal use. These
emissions are not harmful to health. However,
they may be noticeable during extended use or
long production runs in poorly ventilated rooms.
To maintain a comfortable working environment,
it is recommended that the room where the
machine operates be appropriately ventilated.
Also avoid locations where people would be
exposed to emissions from the machine.
Power Supply
•
Use only a power supply that meets the
specied voltage requirements. Failure to do
so may result in a re or electrical shock.
•
Do not use power cords other than the one provided,
as this may result in a re or electrical shock.
•
The provided power cord is intended for use
with this machine. Do not connect the power
cord to other devices.
•
Do not modify, pull, forcibly bend, or perform
any other act that may damage the power
cord. Do not place heavy objects on the power
cord. Damaging the power cord may result in
a re or electrical shock.
•
Do not plug in or unplug the power plug with
wet hands, as this may result in an electrical shock.
•
Do not use extension cords or multi-plug
power strips with the machine. Doing so may
result in a re or electrical shock.
•
Do not wrap the power cord or tie it in a knot,
as this may result in a re or electrical shock.
•
Insert the power plug completely into the AC
power outlet. Failure to do so may result in a
re or electrical shock.


