English
Help with setup: Mouse not working
• Is the mouse powered on?
• Is the Unifying receiver securely plugged into a computer USB port?
Try changing USB ports.
• If the Unifying receiver is plugged into a USB hub, try plugging it
directly into a USB port on your computer.
• Check the orientation of the batteries inside the mouse.
Replace the batteries if necessary. The mouse uses two AA
alkaline batteries.
• Remove metallic objects between the mouse and the
Unifying receiver.
• Try moving the Unifying receiver to a USB port closer to the mouse.
• Try reconnecting the mouse and Unifying receiver using
the Logitech Unifying software. (Refer to the Unifying section
in this guide.)
Français
Aide à la configuration: la souris ne fonctionne pas
• La souris est-elle sous tension?
• Le récepteur Unifying est-il correctement branché sur un port USB
de l’ordinateur? Réessayez en changeant de port USB.
• Si le récepteur Unifying est branché sur un hub USB, branchez-le
directement sur un port USB de l’ordinateur.
• Vérifiez que les piles sont bien orientées dans la souris.
Changezlespiles si nécessaire. La souris utilise deux piles
alcalinesAA.
• Retirez tout objet métallique se trouvant entre la souris et
lerécepteur Unifying.
• Essayez de brancher le récepteur Unifying dans un port USB
plusproche de la souris.
• Reconnectez la souris au récepteur Unifying à l’aide du logiciel
Logitech Unifying (reportez-vous à la section Unifying de ce guide).
Español
Ayuda con la instalación: el mouse no funciona
• ¿Has encendido el mouse?
• ¿Está el receptor Unifying conectado correctamente
aunpuertoUSB de la computadora? Prueba otros puertos USB.
• Si el receptor Unifying está conectado a un concentrador USB,
conéctalo directamente a un puerto USB de la computadora.
• Comprueba la orientación de las baterías dentro del mouse.
Cambialas baterías en caso necesario. El mouse usa dos baterías
alcalinas AA.
• Retira cualquier objeto metálico situado entre el mouse
yelreceptor Unifying.
• Lleva el receptor Unifying a un puerto USB más cercano al mouse.
• Vuelve a conectar el mouse y el receptor Unifying mediante
elsoftware Logitech Unifying. (Consulta la sección Unifying
deestaguía.)
Português
Ajuda para a configuração: O mouse não funciona
• O mouse está ligado?
• O receptor Unifying está conectado corretamente a uma porta USB
do computador? Tente mudar de porta USB.
• Se o receptor Unifying estiver conectado a um concentrador USB,
tente conectá-lo diretamente a uma porta USB no computador.
• Verifique a orientação das pilhas dentro do mouse. Substitua as
pilhas, se necessário. O mouse usa duas pilhas alcalinas AA.
• Remova objetos metálicos entre o mouse e o receptor Unifying.
• Experimente mover o receptor Unifying para uma porta USB
maispróxima do mouse.
• Experimente reconectar o mouse e o receptor Unifying
usandoosoftware Logitech Unifying. (Consulte a seção Unifying
nesteguia.)
English
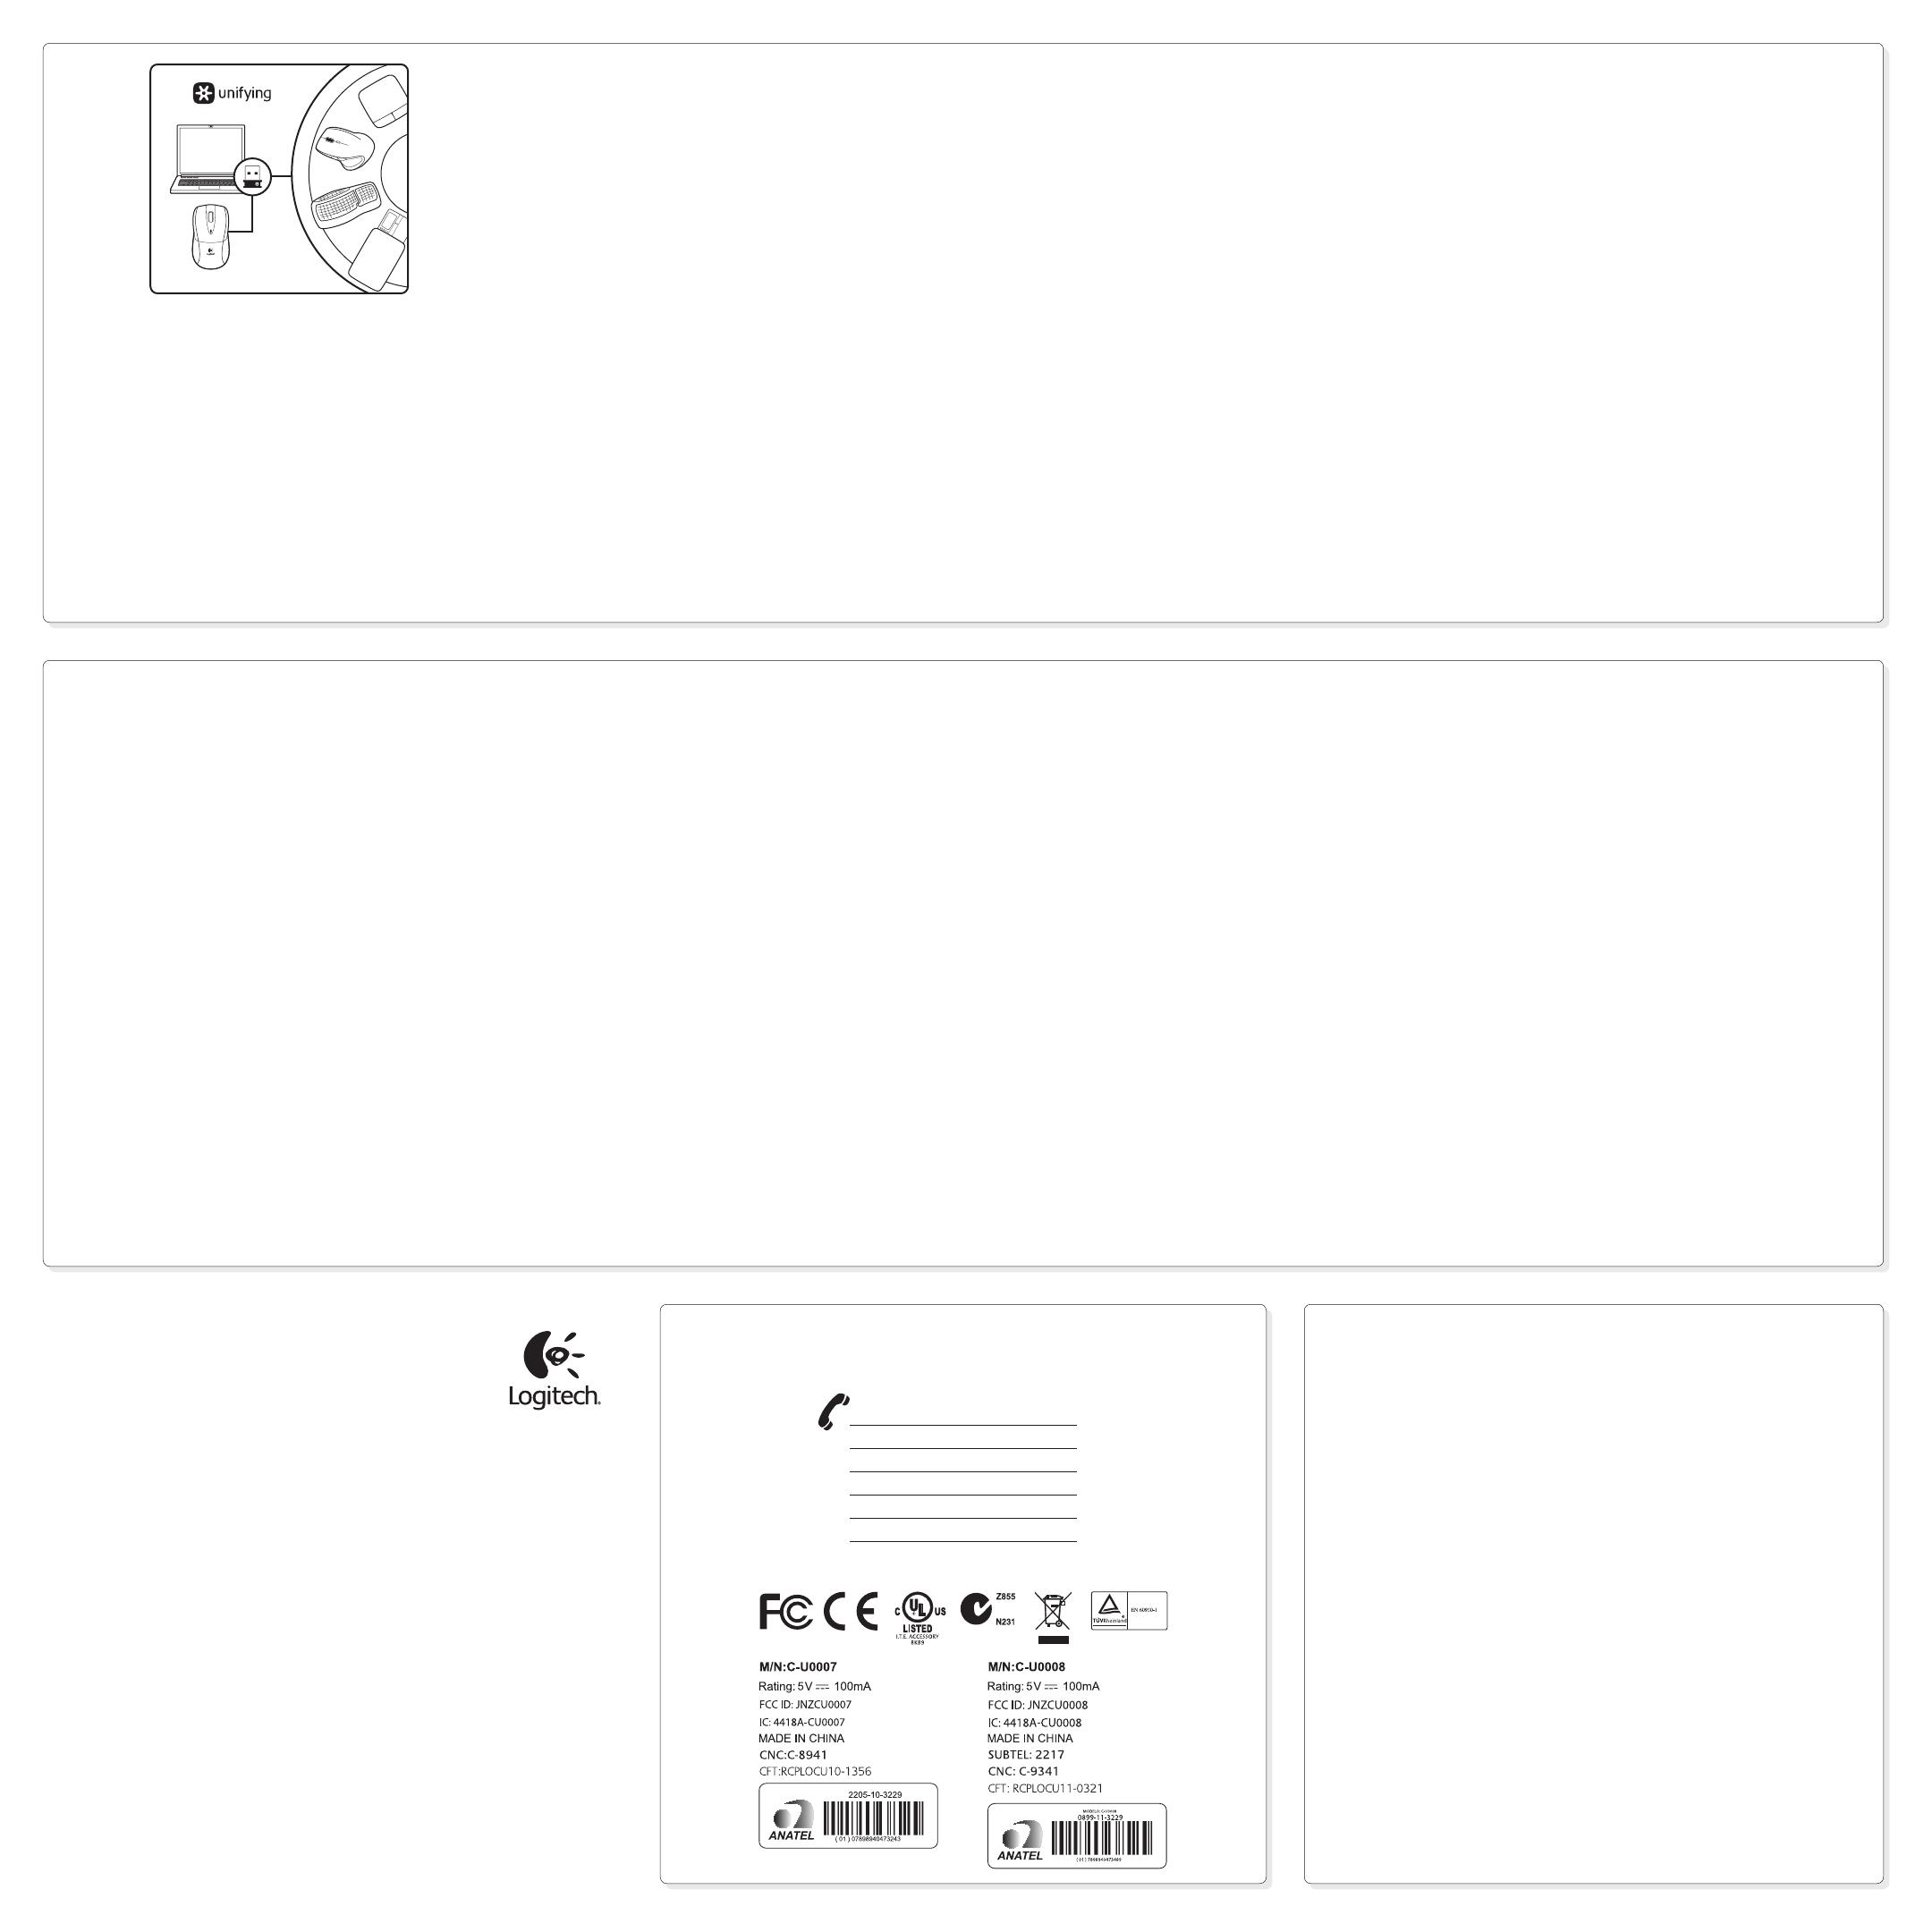
The Logitech® Unifying receiver
Plug it. Forget it. Add to it.
Your new Logitech product ships with a Logitech® Unifying receiver.
Did you know you can add a compatible Logitech wireless device that
uses the same receiver as your current Logitech Unifying product?
Are you Unifying-ready?
If you have a Logitech wireless device that’s Unifying-ready, you can
pair it with additional Unifying devices. Just look for the orange
Unifying logo on the new device or its packaging. Build your ideal
combo. Add something. Replace something. It’s easy, and you’ll use
only one USB port for up to six devices.
Getting started is easy
If you’re ready to pair your device(s) via Unifying, here’s what
you need to do:
1. Make sure your Unifying receiver is plugged in.
2. If you haven’t already, download the Logitech® Unifying software
from www.logitech.com/unifying.
3. Start the Unifying software* and follow the onscreen instructions
to pair the new wireless device with your existing Unifying receiver.
*Go to Start / All Programs / Logitech / Unifying / Logitech Unifying Software
Français
Branchez-le. Oubliez-le. Ajoutez des dispositifs.
Votre nouveau produit Logitech est livré avec un récepteur Logitech®
Unifying. Saviez-vous qu’il est possible d’ajouter un dispositif Logitech
sans fil compatible utilisant le même récepteur que votre produit
Logitech Unifying actuel?
Etes-vous compatible Unifying?
Si vous possédez un dispositif Logitech sans fil compatible Unifying,
vous pouvez le coupler à d’autres dispositifs Unifying. Recherchez la
présence du logo orange Unifying sur le nouveau dispositif ou sur son
emballage. Créez votre combinaison parfaite. Ajoutez un dispositif.
Remplacez-en un. C’est très simple, et vous pouvez utiliser un seul
port USB pour six dispositifs.
L’installation est très facile.
Si vous êtes prêt à associer vos dispositifs en utilisant le récepteur
Unifying, voici comment procéder:
1. Vérifiez que le récepteur Unifying est correctement branché.
2. Si ce n’est déjà fait, téléchargez le logiciel Logitech® Unifying
àpartir du site www.logitech.com/unifying.
3. Lancez le logiciel Unifying* et suivez les instructions à l’écran pour
coupler le nouveau dispositif sans fil au récepteur Unifying existant.
*Cliquez sur Démarrer / Tous les programmes / Logitech / Unifying /
Logiciel Logitech Unifying
Español
Receptor Logitech® Unifying
Conéctalo. Olvídate de él. Agrega más.
Tu nuevo producto Logitech se entrega con un receptor
Logitech®Unifying. ¿Sabías que puedes agregar un dispositivo
inalámbrico Logitech compatible que utiliza el mismo receptor
quetuproducto Logitech Unifying actual?
¿Estás listo para Unifying?
Si tienes un dispositivo inalámbrico compatible con Unifying,
puedesemparejarlo con otros dispositivos Unifying. Busca el logo
naranja de Unifying en el nuevo dispositivo o en su embalaje.
Crealacombinación ideal. Agrega algo. Sustituye algo. Es sencillo:
sólo utilizarás un puerto USB para hasta seis dispositivos.
Es muy sencillo
Si estás listo para emparejar los dispositivos mediante Unifying,
sigueestos pasos:
1. Comprueba que el receptor Unifying esté conectado.
2. Si no lo has hecho aún, descarga el software Logitech® Unifying
desde www.logitech.com/unifying.
3. Inicia el software* Unifying y sigue las instrucciones en pantalla
para emparejar el nuevo dispositivo inalámbrico con el receptor
Unifying existente.
*Va a Inicio / Todos los programas / Logitech / Unifying /
Software Logitech Unifying
Português
O receptor Logitech® Unifying
Conecte-o. Esqueça-o. Adicione a ele.
Seu novo produto da Logitech inclui um receptor Logitech® Unifying.
Sabia que é possível adicionar um dispositivo sem fio compatível
daLogitech que usa o mesmo receptor que o atual produto Logitech
Unifying?
Está preparado para Unifying?
Se tiver um dispositivo sem fio da Logitech que esteja preparado
para Unifying, você poderá emparelhá-lo com dispositivos Unifying
adicionais. Procure o logotipo laranja do Unifying no novo dispositivo
ou na embalagem. Faça sua combinação ideal. Adicione algo.
Substitua algo. É fácil, e somente uma porta USB será usada para
atéseis dispositivos.
É fácil começar
Se estiver pronto para emparelhar dispositivos através do Unifying,
aqui está o que é preciso fazer:
1. Verifique se o receptor Unifying está conectado.
2. Se ainda não o fez, faça o download do software Logitech® Unifying
no site www.logitech.com/unifying.
3. Inicie o software Unifying* e siga as instruções na tela para
emparelhar o novo dispositivo sem fio com o receptor Unifying
existente.
* Vá para Iniciar / Todos os programas / Logitech / Unifying /
LogitechUnifying Software
www.logitech.com
© 2011 Logitech. All rights reserved. Logitech, the Logitech logo, and other Logitech marks are owned by
Logitech and may be registered. Microsoft, Windows Vista, Windows, and the Windows logo are trademarks
of the Microsoft group of companies. Mac, Mac logo, Exposé, and Spaces are trademarks of Apple Inc.,
registered in the U.S. and other countries. All other trademarks are the property of their respective owners.
Logitech assumes no responsibility for any errors that may appear in this manual. Information contained
herein is subject to change without notice.
© 2011 Logitech. Tous droits réservés. Logitech, le logo Logitech et les autres marques Logitech sont
lapropriété de Logitech et sont susceptibles d’être déposés. Microsoft, Windows Vista, Windows et le logo
Windows sont des marques déposées du groupe et des sociétés Microsoft. Mac, le logo Mac, Exposéet
Spaces sont des marques déposées d’Apple Inc., enregistrées aux Etats-Unis et dans d’autres pays.
Touteslesautres marques commerciales sont la propriété de leurs détenteurs respectifs. Logitech décline
toute responsabilité en cas d’erreurs dans ce manuel. Les informations énoncées dans ce document peuvent
faire l’objet de modifications sans avis préalable.
620-003601.002
United States +1 646-454-3200
Argentina +00800-555-3284
Brasil +0 800-891-4173
Canada +1 866-934-5644
Chile 1230 020 5484
Latin America +1 800-578-9619
Mexico 001 800 578 9619
What do you think?
¿Cuál es su opinión?
Qu’en pensez-vous?
O que acha?
Please take a minute to tell us. Thank you for purchasing our product.
Nos gustaría conocerla, si puede dedicarnos un minuto.
Le agradecemos la adquisición de nuestro producto.
Prenez quelques minutes pour nous faire part de vos commentaires.
Vous venez d’acheter ce produit et nous vous en remercions.
Reserve um momento para nos informar. Obrigado por adquirir nosso produto.
www.logitech.com/ithink
www.logitech.com/support

